

Hey there! As a supplier of Foot Operated Drum Brakes, I've seen firsthand how important it is to keep these brakes in top - notch condition. One crucial aspect of maintaining foot - operated drum brakes is adjusting the brake pedal free play. In this blog, I'll walk you through how to do it step by step.
What is Brake Pedal Free Play?
Before we dive into the adjustment process, let's quickly understand what brake pedal free play is. Brake pedal free play is the amount of movement the brake pedal can make before the brakes actually start to engage. A proper amount of free play is essential. Too little free play can cause the brakes to drag, leading to premature wear of brake components. On the other hand, too much free play can result in a spongy pedal feel and reduced braking efficiency.
Tools You'll Need
To adjust the brake pedal free play in foot - operated drum brakes, you'll need a few basic tools:
- A wrench set: This will come in handy for loosening and tightening nuts and bolts.
- A ruler or a tape measure: You'll use this to measure the free play.
- A flashlight: It'll help you see better in the sometimes - dark spaces around the brakes.
Step 1: Locate the Adjusting Mechanism
The first step is to find the adjusting mechanism for your foot - operated drum brakes. In most cases, it's located near the brake pedal or on the brake linkage. Look for a nut or a screw that can be turned to change the length of the linkage. This adjustment will directly affect the brake pedal free play.
Step 2: Measure the Existing Free Play
Before you start making any adjustments, measure the current free play of the brake pedal. Press the brake pedal gently with your foot and use a ruler or tape measure to measure the distance the pedal travels before you feel any resistance. This is your existing free play. A typical range for brake pedal free play in foot - operated drum brakes is around 1/2 to 1 inch, but it can vary depending on the specific brake model.

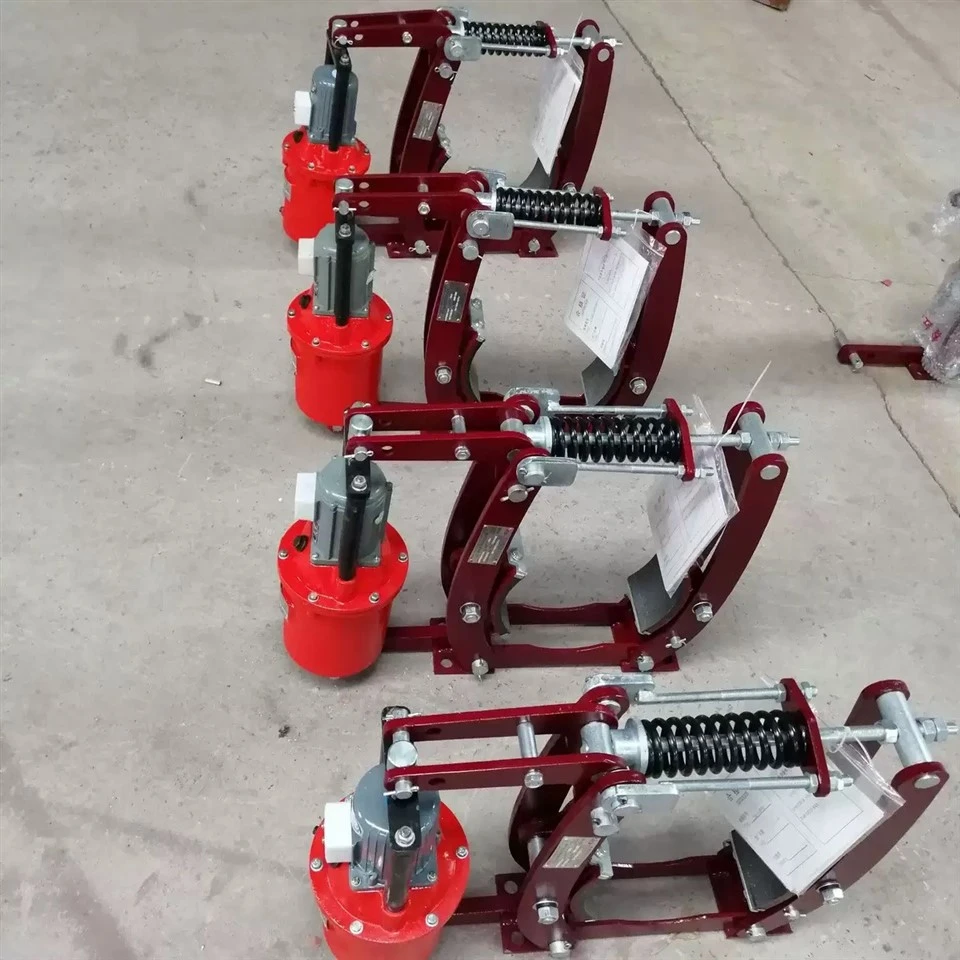
Step 3: Make the Adjustment
Once you've measured the free play, it's time to make the necessary adjustments. If the free play is too much, you'll need to shorten the brake linkage. Use your wrench to loosen the lock nut on the adjusting mechanism. Then, turn the adjusting screw or nut clockwise to shorten the linkage. As you turn, keep an eye on the free play measurement. Make small adjustments at a time and re - measure the free play after each turn.
If the free play is too little, you'll need to lengthen the brake linkage. Loosen the lock nut again, but this time turn the adjusting screw or nut counter - clockwise. Just like when shortening the linkage, make small adjustments and re - measure frequently.
Step 4: Re - Check the Free Play
After you've made the adjustments, re - check the brake pedal free play. Press the pedal again and measure the distance it travels before resistance is felt. Make sure the free play is within the recommended range for your specific foot - operated drum brakes. If it's still not right, repeat the adjustment process until you get it just right.
Step 5: Tighten the Lock Nut
Once you've achieved the correct free play, tighten the lock nut on the adjusting mechanism. This will prevent the adjustment from coming loose over time. Use your wrench to tighten the nut securely, but be careful not to overtighten it, as this could damage the threads.
Step 6: Test the Brakes
After adjusting the brake pedal free play and tightening the lock nut, it's time to test the brakes. Start your vehicle or equipment and drive it at a slow speed in a safe area. Gently press the brake pedal to see how it feels. The pedal should have a firm, responsive feel, and the brakes should engage smoothly without any dragging or excessive travel. If you notice any issues, such as a spongy pedal or uneven braking, go back and re - check your adjustment.
Why Adjusting Brake Pedal Free Play is Important
Properly adjusted brake pedal free play is crucial for the safety and performance of your foot - operated drum brakes. When the free play is within the correct range, the brakes will engage and disengage smoothly. This not only improves braking efficiency but also extends the lifespan of the brake components. On the other hand, incorrect free play can lead to a variety of problems, including premature wear, reduced braking power, and even brake failure in extreme cases.
Other Types of Drum Brakes We Offer
As a Foot Operated Drum Brakes supplier, we also offer a range of other high - quality drum brakes. Check out our Heavy - duty Industrial Drum Brakes, which are designed to handle the toughest industrial applications. We also have DC Drum Brake options that provide reliable braking performance in DC - powered systems. And for those looking for an electromagnetic solution, our Electromagnetic Drum Brake is a great choice.
Conclusion
Adjusting the brake pedal free play in foot - operated drum brakes is a relatively simple process that can have a big impact on the safety and performance of your brakes. By following the steps outlined in this blog, you can ensure that your brakes are in optimal condition. If you have any questions or need further assistance, don't hesitate to reach out to us. We're here to help you with all your drum brake needs. Whether you're looking to purchase new brakes or need advice on maintenance, we're the experts you can trust. Contact us today to start a procurement discussion and find the perfect drum brakes for your requirements.
References
- Automotive Brake Systems Manuals
- Industry - specific Brake Maintenance Guides